How many times have you stumbled upon a sweet “final sale” deal online, but hesitated buying it because you weren’t 100% certain it would actually fit?
Or have you ever found the perfect sport coat on eBay or Style Forum, but it didn’t have size tags and the seller simply listed the measurements? I mean, what the heck are you supposed to do with that, right?
Let’s make sure this never happens to you again.
In this article we’ll go over how to measure your clothes (and your body) so you always have the info you need to make online purchasing easy.
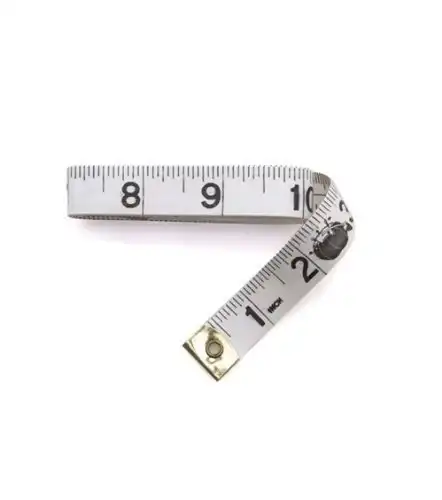
First off, here’s the ONE tool you need to solve all your online shopping woes:
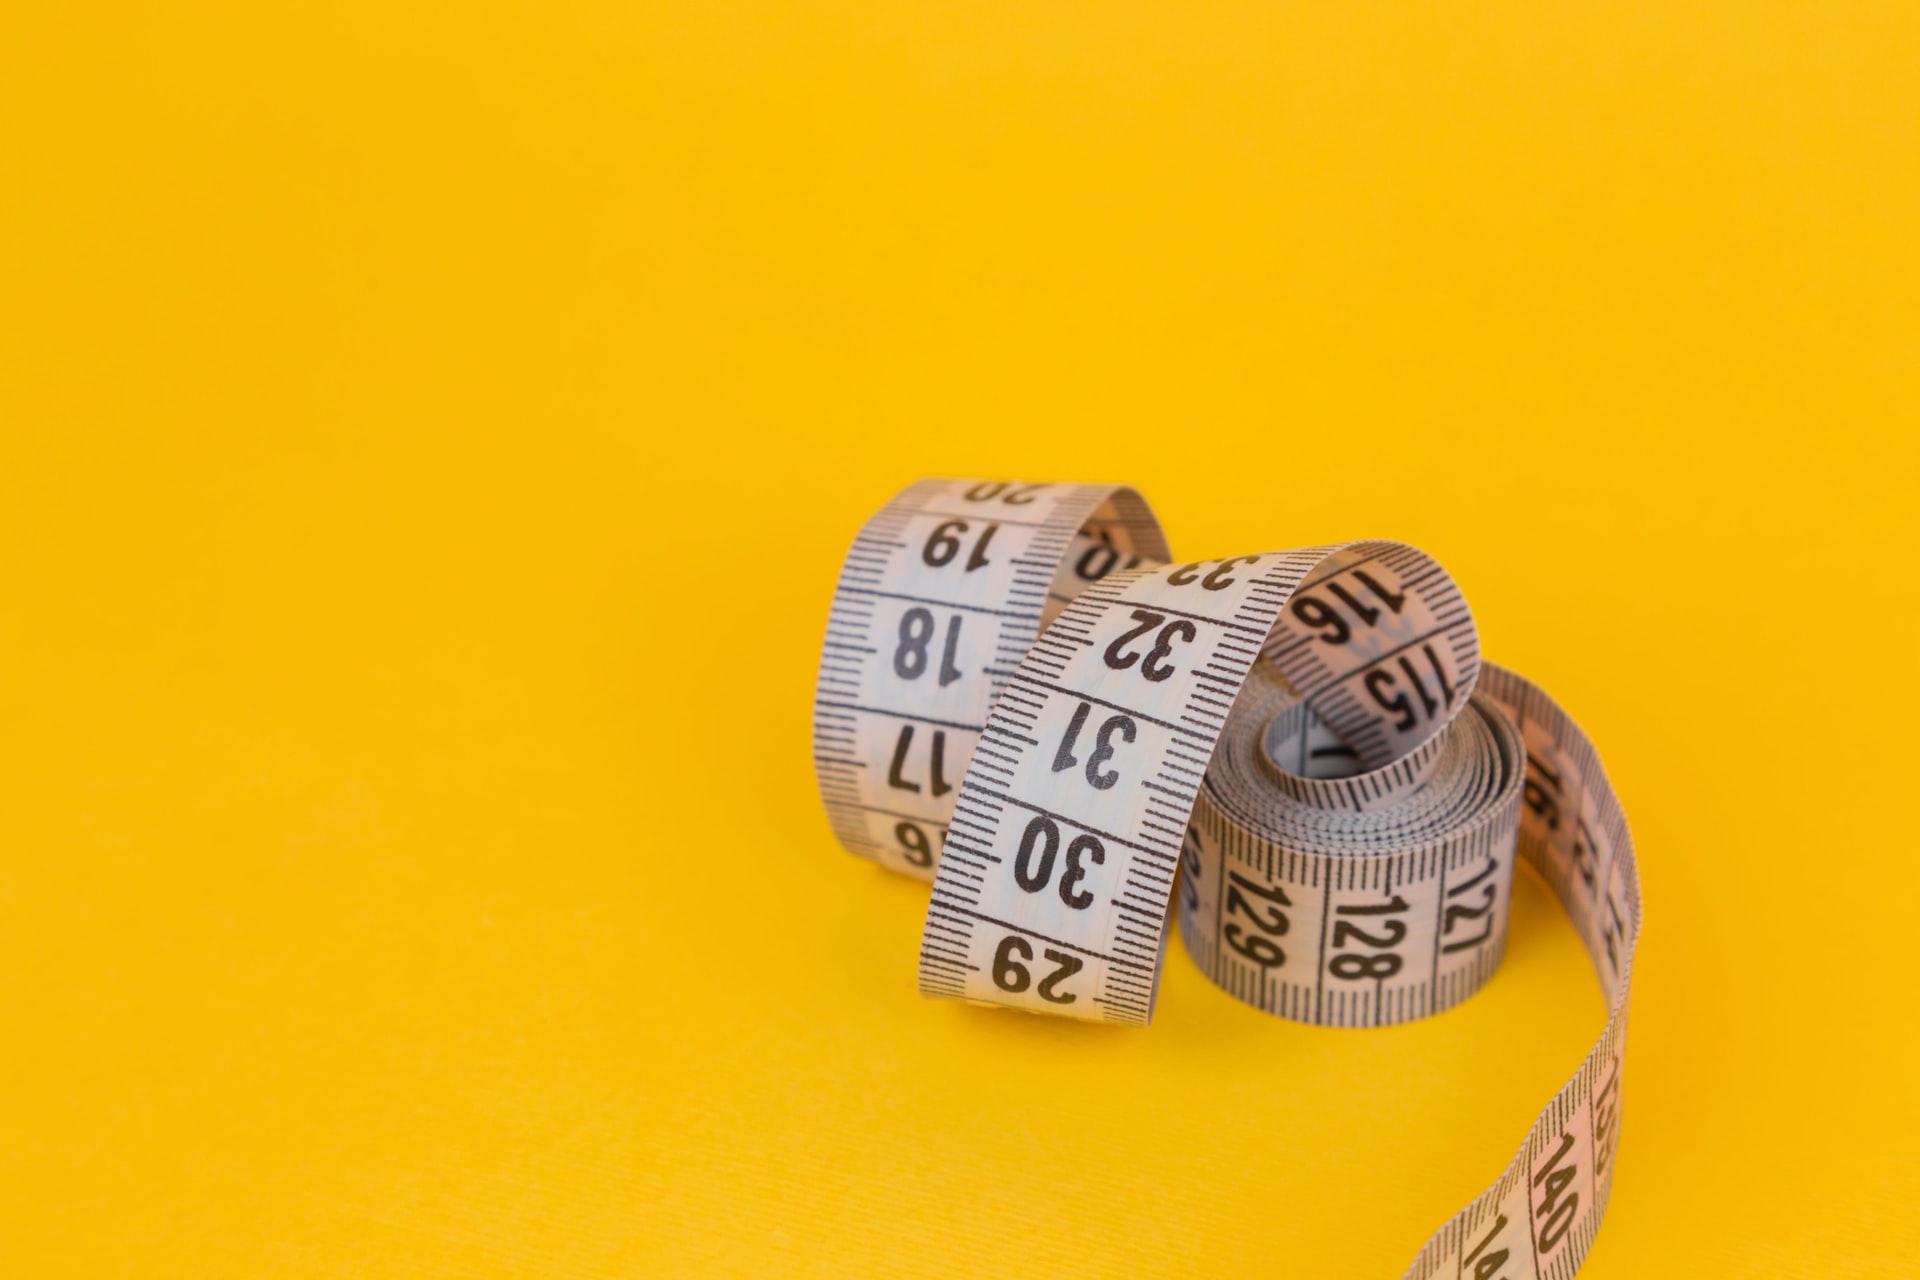
Tailor’s tape! Or a tape measure, or measuring tape. It’s called many things.
Lucky for you, you can find it find it on Amazon, in practically any big box store (Target, Walmart, Kmart), or in an arts and crafts store in your neighborhood, and it’ll cost you a few dollars at most.
How To use Measuring Tape To Measure Your Body
Tailor’s tape can measure every single square inch of that hot bod of yours. And those measurements you write down are exactly what you need to make those confusing online purchases much easier.
You really only need 6, maybe 7, measurements. That’s it!
With those 6 (or 7) measurements, you can buy any garment anywhere without having to try it on. Pretty nifty, right?
So Which Measurements Do I need?
Good question. To make it easy, why not take a look at this handy dandy diagram below:
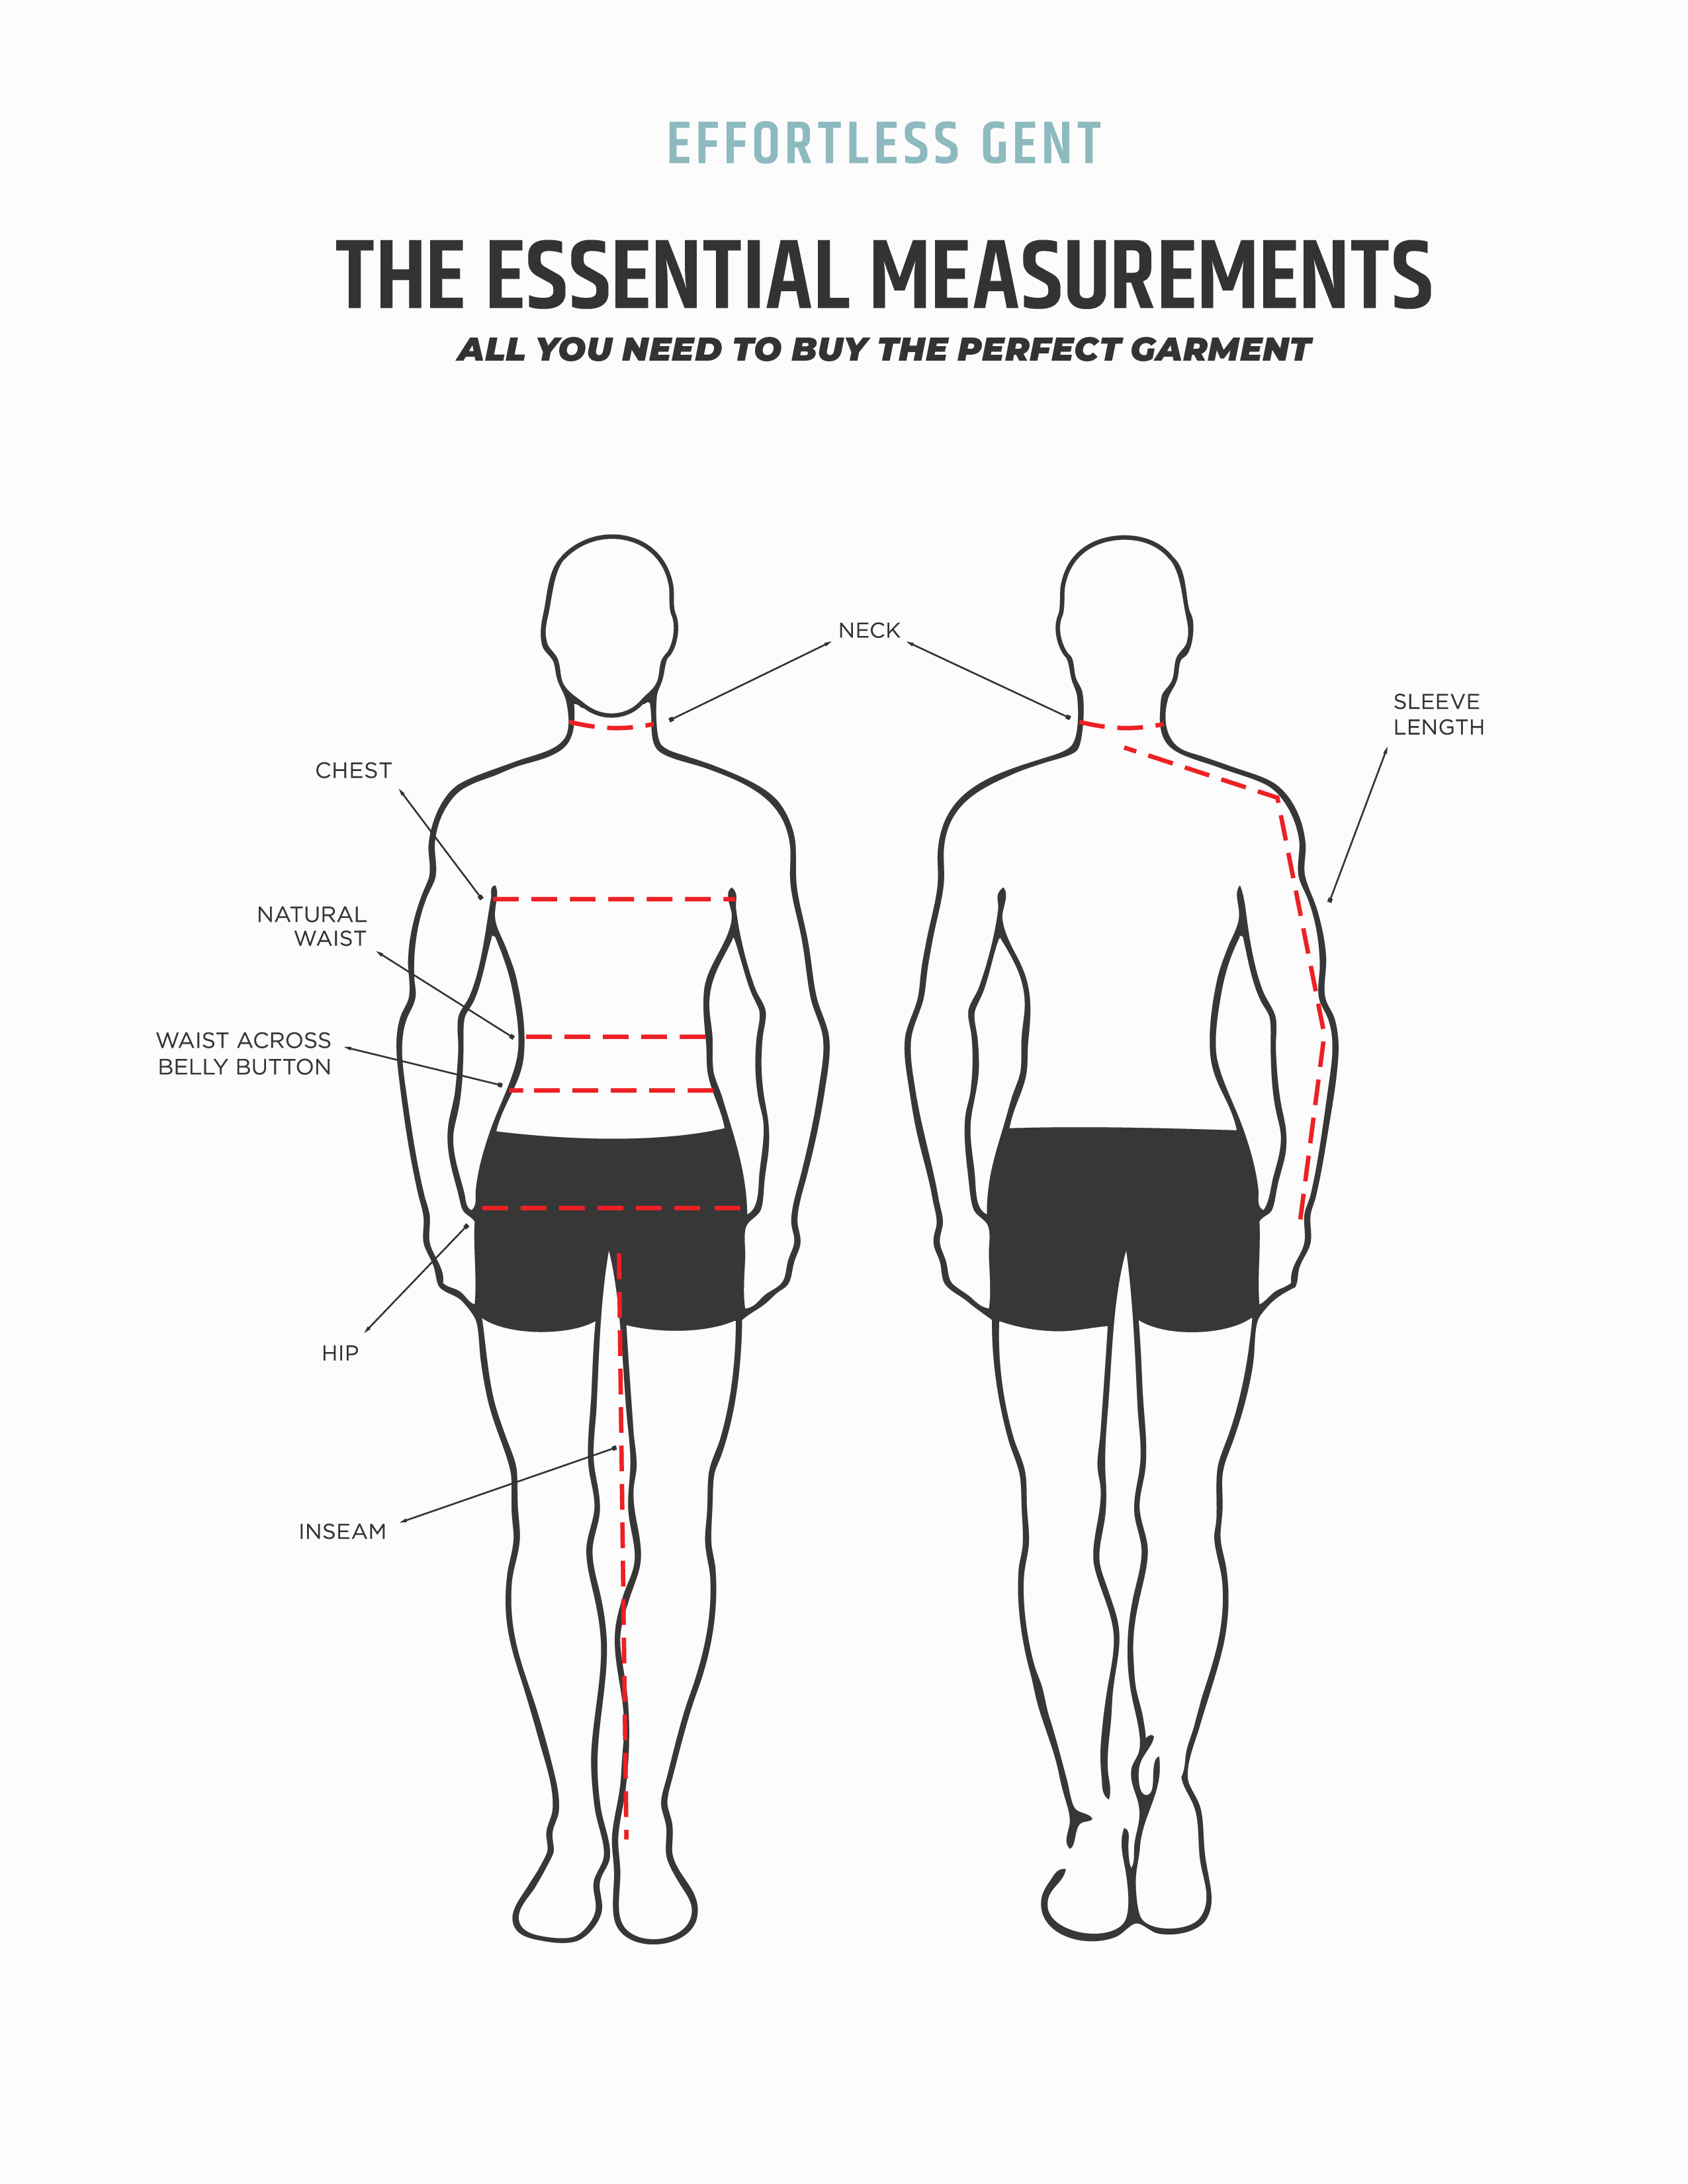
Here are some descriptive definitions for the more confusing ones:
- Sleeve length: Measure from the base of the neck, across the traps to the shoulder, down the arm, to your wrist bone.
- Chest: Measure the widest part of your chest, usually across the nipple line.
- Natural waist: Your natural waist is generally where your torso bends if you were to stand straight and tip over slightly to one side. That crease sorta in the middle of your ribs? That’s your natural waist.
- Hip: For the purposes of measurements for clothing, your hip would be the widest part of your bottom half, as you’re standing straight with your feet together. Your tape should come right across there, parallel to the ground.
- Inseam: Measure from the inside of your thigh to the heel.
These are usually the only measurements you’ll need. If a brand has a size + measurement guide, they typically give you hints how to measure your own well-fitting garment or your body.
If that’s the case, follow their advice about taking accurate measurements. The brand will have the best idea since they’re the ones who put together the measurements for the garments you’re considering buying.
tips For Taking Measurements Accurately
This is a little difficult to do if you’re on your own, unless you have something like this. If you’re not as fancy and you picked up traditional tailor’s tape, better get a friend, family member, or partner to help you out.
Keep the tape straight
It’s really important to make sure the tape is level as your partner is wrapping it around each body part. If it isn’t straight, chances are you’ll get a skewed measurement.
An inch can make a big difference in the fit of your clothes, so make sure your designated measurer is as precise as possible. If you’re measuring your chest, waist, or hips, the tape should be parallel to the ground.
Too loose = bad
You want to feel the tape wrapped around you. If it’s too loose, most likely it’s also not straight, so you’re going to get an inaccurate measurement no matter what.
Too tight = bad
Yes, you want to feel the tape wrapped around you, but you don’t want to cinch it so snugly that your spare tire is cascading over it, enveloping the tape in a wall of skin and lard like some weird 80s horror film. Keep it firm, but not tight.
Line it up
Hold one end, wrap the tape around your body, hold it firm, and match up the free end to the nearest line on the tape, like so:
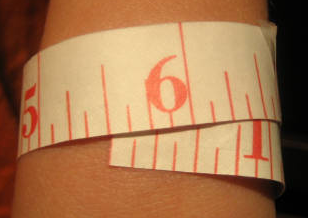
Pretty simple, right? You want to do this for each of the areas listed in my handy dandy diagram above.
Half or full?
Some places give you measurements that look peculiarly small. For example, you may see a garment listed as having a 20″ chest measurement.
Well that just means they laid the garment flat and measured across the chest without doubling the measurement. So your 40″ chest is 40″ because you went all the way around your body.
Leave Some Room for allowance
If your chest measures 40″, and the
You’ll need anywhere from 3-5″ of allowance between your body measurement and the garment’s measurements.
Sometimes the brand will say so on the product measurement page. Sometimes you have to take a guess. But 3-5″ allowance is pretty standard in my experience.
How to measure your clothes
Let’s say you have a blazer that fits you perfectly. Take the jacket’s measurements. This will come in handy when you’re looking to buy
Measuring a garment is similar to measuring your body, but easier. You’re essentially taking the same measurements you would on yourself. Lay your garment on a flat surface, and follow this measuring guide:
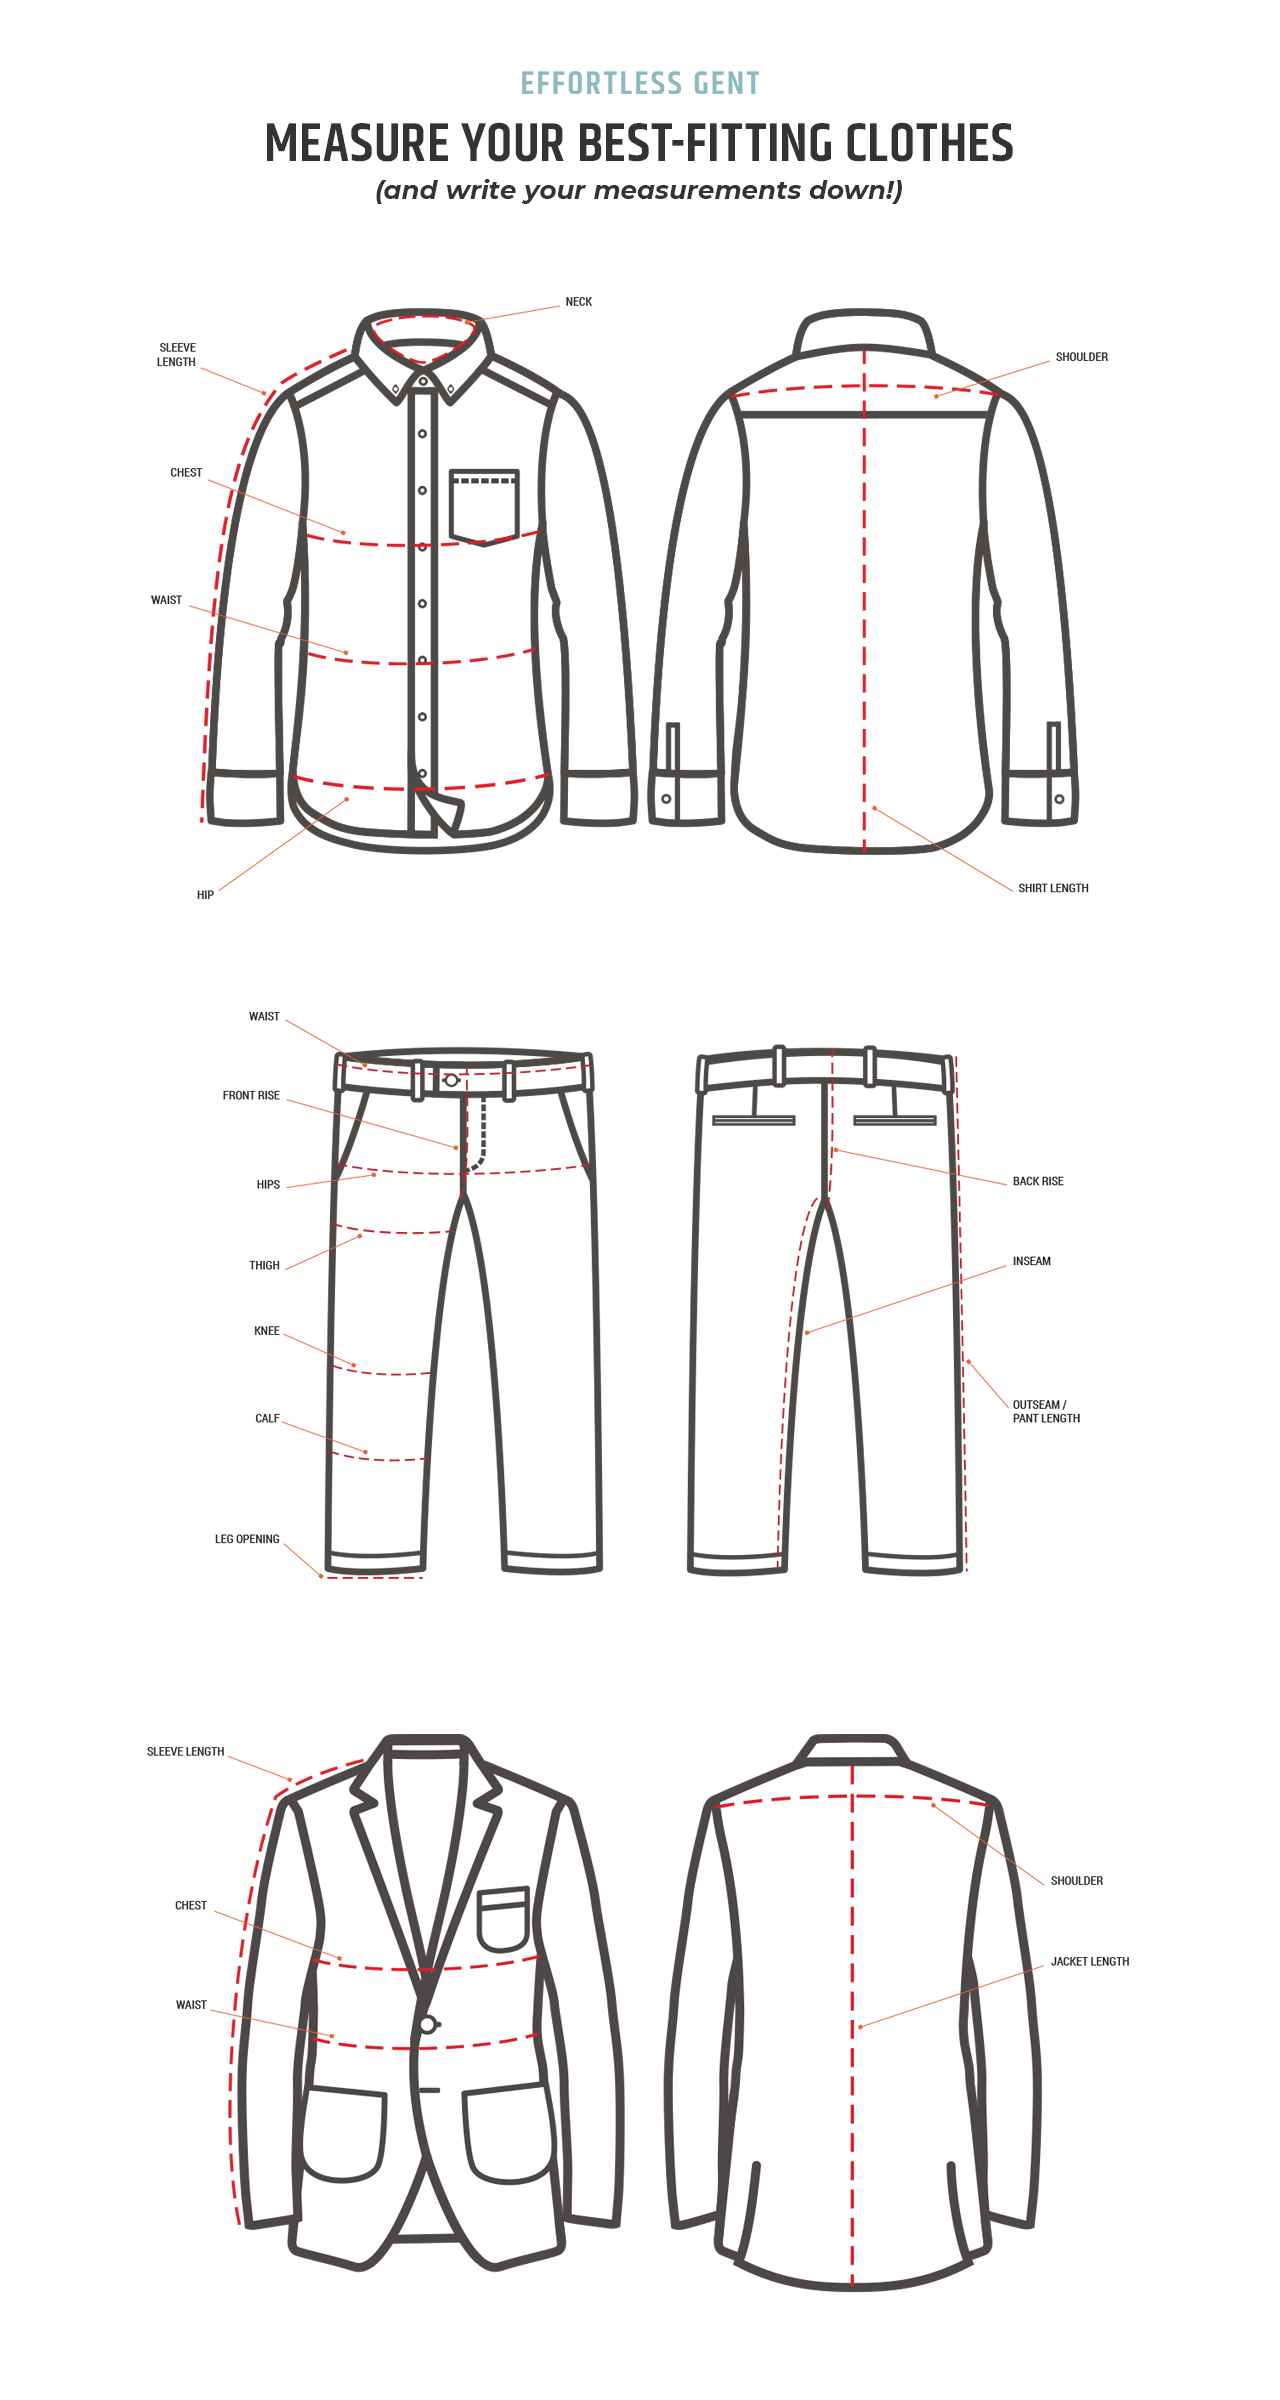
This part is pretty self explanatory, and you don’t need a partner’s help with this one. Just be sure to write down each measurement (and take note of what garment you’re measuring).
A Measuring Tape Will Be Your Secret Weapon When Shopping Online
Make sure to keep these numbers on a Post-it and stick it in your wallet for quick reference, or have a digital copy of it—photo of the Post-it, or a file in your Notes app—so you can shop online with confidence, armed with the knowledge of your own measurements.
Was that helpful?
If you have any questions or comments, hit me up on Twitter. You can also find join other readers on Effortless Gent’s Facebook page, or DM me on Instagram!

